PRODUCTION
OUR PROCESS
Each design is unique, requiring a production process tailored to its specifications.
The journey typically begins in either the casting or stamping department, before moving to assembly, polishing, and finishing.
CASTING
First, a rubber mould is formed around a metal master or a silicone mould is formed around a resin print. Each expertly crafted mould is owned by the customer and safely stored to ensure that exclusivity is always maintained. When an order is placed, the corresponding mould is filled with high-performance wax, set aside, and then delicately opened to remove a perfect wax copy.
A ‘tree’ of the same design or similarly-shaped pieces is then very carefully and precisely built, ensuring consistency and efficiency. Investment material is poured into a flask positioned around the tree. Once hardened, the plaster-like material is heated in a large furnace, allowing the wax to be “burned out” and “lost”. The flask is transferred to a casting machine, where metal is melted and then dropped into the flask, neatly filling the voids of the “lost wax”. Finally, each piece is cleaned and carefully inspected before being passed to the next department.
STAMPING
The process begins with molten metal that is poured into a form, creating a block or ingot. The ingot is then either rolled down into sheets of the required thickness for stamping or is passed through a series of profiles and dies to create wire.
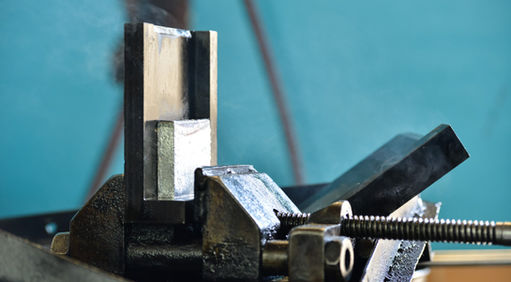
A thunderous mechanic press creates the form and then hand-cranked machines are utilized for cutting. Both machines require heavy-duty steel dies that are custom made for each design, but can be used over-and-over for years. Once stamped, each component is carefully inspected before being handed over for assembly. The stamping room is like a machine shop, with an array of fabrication equipment that can also be used for creating tools for other departments.
ASSEMBLY
Filing is generally the first step in the assembly process. Casted pieces need to have at least one sprue filed away and often have a rough “skin” or surface texture that needs to be smoothed.
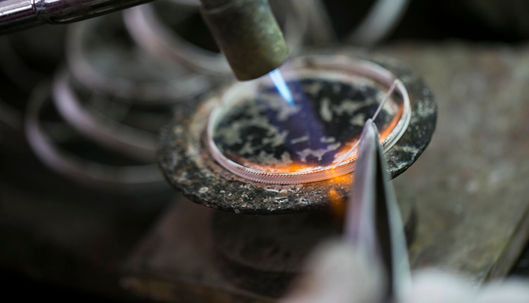
Simple designs may only have a single component, but more complicated designs may have many components. Soldering is the process of joining two metal surfaces. T-bars, bails, hinges, and other components are precisely soldered together. Traditional jewellery torches are frequently used, but crafting facility also modern options like a laser welder and a pulse (PUK) welder.
POLISHING
The desired finish is achieved be a highly-skilled team using a combination of mechanical and hand polishing processes. The crafting facility has a state-of-the-art OTEC disc finishing unit from Germany, as well as traditional tumble and magnetic polishing tools, all of which provide a versatile range of automated finishing.
Often, a design will have some degree of mechanical finishing, followed by hand-polishing. Depending on the finish desired, hand-polishing can be a three-step process. Akin to sandpaper, an increasingly fine grit is applied, making the design smoother and more shiny.
STONE-SETTING AND
HAND-ENGRAVING
Stones of all shapes and sizes are set by a small team of talented artisans. Bevel, claw/prong, pavé, and other setting types are possible depending on the requirements of the design. This craft requires incredible precision, and so it also requires creativity and flexibility from each setter to adapt each setting to ensure optimal fit and display.
Hand engraving is an art form that dates back roughly 500,000 years. Sharpened steel tools are carefully pushed by hand, cutting into the surface of the jewellery. Its effect is unique and it is always amazing to watch as a pattern is created. An in-house capability is also useful for the clean-up of sprues on casted pieces with complex surfaces.
STONE-CUTTING AND INLAY
Shell and stone can be cut and shaped in-house by a fantastic lapidary team. While creating cabochons for regular bezel setting is possible, most of the work is destined for flush inlay, where grinding and polishing is done after the shell and/or stone is fitted and glued into position within a metal frame.
Inlay work often requires challenging shapes to be cut into incredibly small pieces, so steady-hands are very much a necessity. The beauty of the finished piece is always balanced with the management of materials, ensuring that losses are minimized.


